Roblox Studio Platform Spacing: Build a Small Jump Test
 By Vini Gürk · Editor
Published Oct 19, 2026 · 5 min read
In this guide
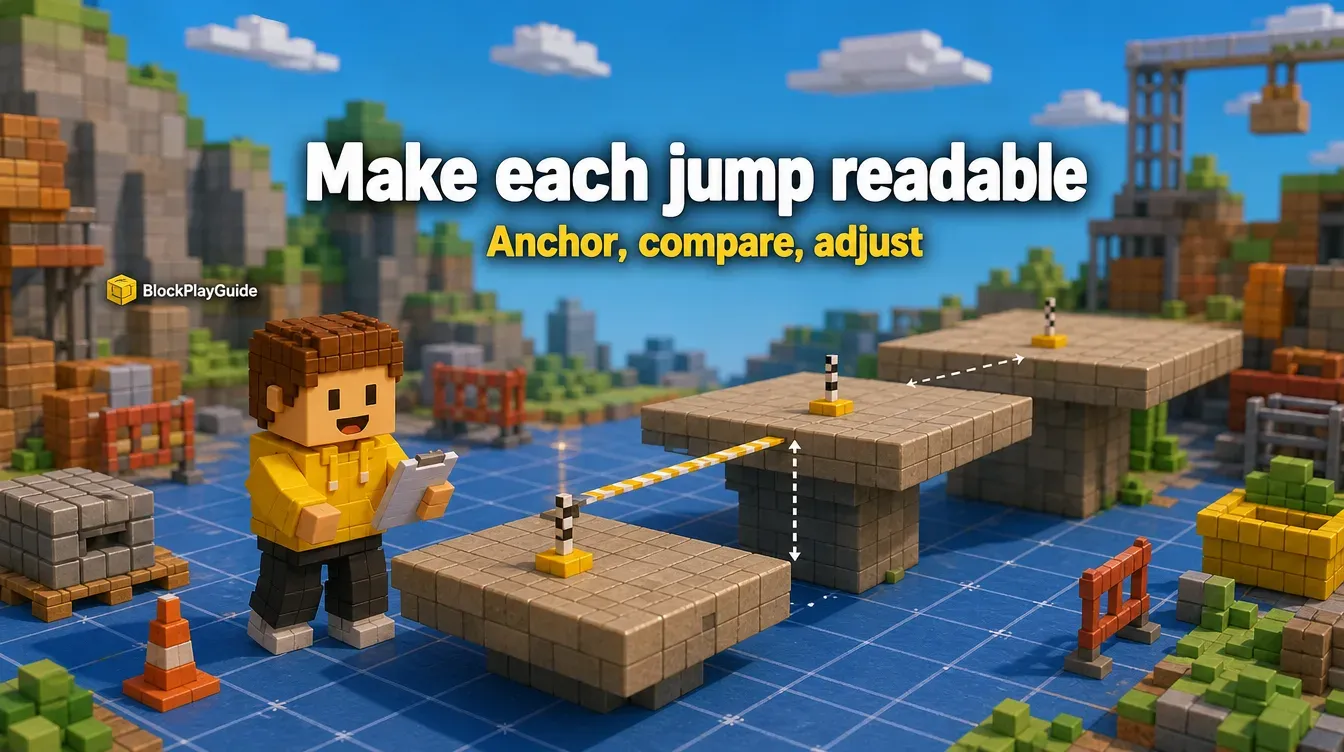
A jump can look short from above and feel confusing when your character reaches its edge. This Roblox Studio exercise focuses on that gap between the builder’s view and the player’s view. You will arrange a small set of stationary platforms, compare their spacing and change one part of the layout at a time.
Choose a starting setup and keep it consistent
Roblox’s templates documentation describes Baseplate as a starting place with a floor and spawn point. Its Platformer template includes extra movement, such as double-jumping and dashing. Those are different starting conditions, not interchangeable ways to measure the same jump.
For this exercise, use a simple Baseplate project and plain parts. This is our proposed design exercise, not a Roblox-published jump-distance standard. It needs no scripts, imported models or paid assets.
If you already have a course, work in a separate copy. Keep its movement setup unchanged while comparing gaps. Changing movement and platform spacing together makes it harder to tell why a jump feels different.
For the installation and first-project steps, use our Studio beginner guide. Here, the task is narrower: make a short section readable before building a whole obstacle course.
Anchor the parts that should stay still
The Creator Hub’s parts lesson explains how to move, resize and rotate parts. It also tells builders to anchor platforms so gravity and collisions do not move them when the game runs.
Make a broad starting platform and a landing platform. Select each intended stationary part and check that Anchor is enabled. Do this before judging any spacing; a falling platform is not evidence that the gap was badly chosen.
Anchoring is appropriate for the stationary platforms in this exercise. It is not a blanket instruction to anchor every object in a game. A moving platform, vehicle or physics-based mechanism needs its own design and is outside this practice session.
If a platform is missing from its expected position when you begin, stop and inspect the part before moving the next platform closer. Solve the stability problem first so you are not correcting the wrong thing.
Build a baseline you can explain
Place the first landing surface at the same height as the starting surface. Give it a clearly visible edge and enough area to understand where a landing should happen. These are suggestions for simplifying your practice layout, not dimensions prescribed by Roblox.
Keep a small note describing the setup. Record the positions and sizes you actually chose rather than copying a supposed maximum jump distance from an unrelated game. Your note should make it possible to return to the same layout after an experiment.
| Layout choice | Keep steady while comparing gaps |
|---|---|
| Starting surface | Its size and height |
| Landing surface | Its size and height |
| Movement setup | The same template and character controls |
| Practice approach | The same starting point and direction |
The cited tutorial advises checking platforms from several viewpoints and keeping early jumps manageable. It does not supply a universal numerical gap. A builder’s camera view alone is not enough to decide whether your course reads clearly from the platform edge.
Change spacing before adding height
Try a short comparison rather than building a long sequence of guessed jumps. Keep the first layout as your baseline and make a deliberate spacing change in another copy or arrangement.
- Inspect the starting and landing edges from the player’s approach.
- Try the jump in a playtest of your own project.
- Note whether the destination was clear before jumping.
- Adjust the horizontal separation while leaving size and height alone.
- Compare again using the same approach.
- Keep the clearer arrangement and save the project after leaving playtest mode.
These are instructions for an exercise you can perform, not results from our testing. A successful attempt does not prove a jump will suit every player or input device.
Leave height changes for a separate comparison. Raising a platform while widening the gap introduces another variable. If the result becomes frustrating, you will not know which change caused it.
Make the landing readable without decoration
Before adding scenery, inspect the route from the starting point and from each platform. A visible landing surface tells the player where to aim. A hidden edge or an overlapping object may make a reasonable gap difficult to understand.
Use simple differences in appearance to distinguish the path from the background, but do not make color the only clue. Shape, position and a visible landing area still matter for readers who see colors differently or play on a small display.
This is design advice, not a claim about an automatic Studio accessibility feature. Keep the exercise plain enough that you can identify the cause of a confusing jump. Decorations can come after the route is understandable without them.
Keep a useful test note and a private practice space
Write down what changed, not just whether the attempt succeeded. “Moved the landing platform farther away; height unchanged” is a more useful note than “made it harder.” If you later add movement mechanics, treat that as a new baseline rather than assuming the earlier comparisons still apply.
Cost note: the exercise requires no purchase. If you choose to add paid assets or other purchases later, check the current price and permissions first; no Robux or US/Canadian cash price is assumed here. Do not install a stranger’s “jump fixer” or share an account password to get help. Our account security guide covers those warning signs.
Parent note: keep this as practice in your own project; publishing is not part of the exercise. Before playing other people’s examples, check each experience’s current maturity label and allowed-content settings. Review collaboration and contact permissions together, and agree on which project copy is safe to change.
Sources checked: October 15, 2026. Roblox Creator Hub: Work with parts · Roblox Creator Hub: Templates
Frequently asked questions
Is there one correct distance between platforms?
No universal distance is given in the cited Roblox tutorial. Movement settings, platform height and the starting setup affect the jump you are designing.
Why do my platforms fall when the game starts?
Check whether the intended stationary platforms are anchored. Roblox's parts tutorial explains that unanchored parts can fall under gravity.
Can I compare a Baseplate jump with the Platformer template?
Not as though the movement were identical. Roblox's Platformer template includes extra moves such as double-jumping and dashing.
Do I need scripts or purchased assets for this exercise?
No. The exercise uses simple parts in your own Studio project, with no scripted hazards or paid asset list.