Roblox Racing Track Layout: Build a Route You Can Read
 By Vini Gürk · Editor
Published Oct 27, 2026 · 5 min read
In this guide
A race track can look connected from above and still leave a driver facing a wall, a hidden turn or a gap between sections. Start with a short route you can understand from the car’s viewpoint. This guide uses Roblox’s documented templates as a starting point for layout, not as evidence of lap logic or vehicle behavior we have tested.
Choose the right template before editing
Roblox Creator Hub lists Racing and Classic Racing separately. Its Racing description includes a working car and track sections you can rearrange. Classic Racing has its own description that explicitly mentions working cars and checkpoints.
That distinction matters. Do not read the checkpoint statement for Classic Racing and assume it describes every system in Racing. Choosing a template gives you a starting project, not permission to assume that moving a road automatically updates lap order, respawn behavior or race rules.
Keep an untouched copy of the starting project and work in a separate version. Before adding decoration, run the original setup to see what it does on your machine. Record which template you chose. Our Studio beginner guide covers the broader workspace; this exercise stays with road arrangement.
Sketch a route with one clear direction
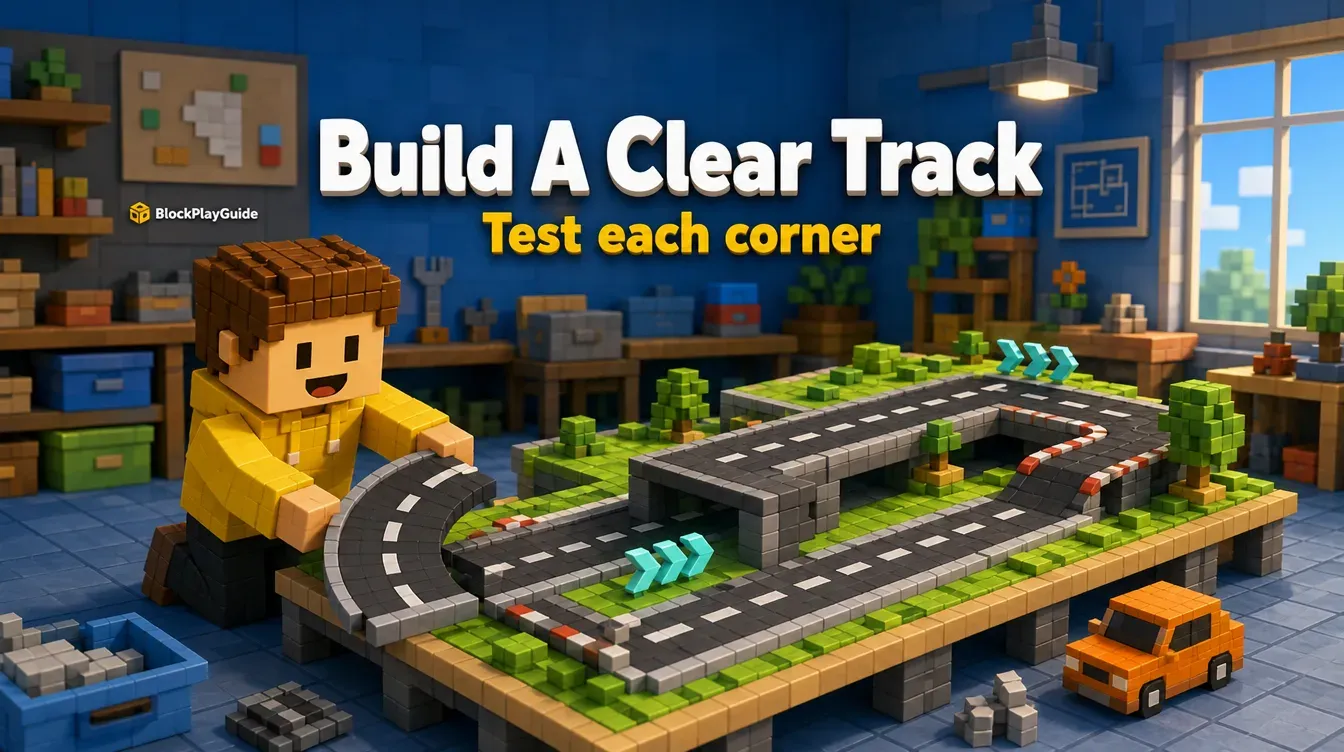
Draw a simple loop on paper before moving objects. Mark the start area, the direction of travel and the corner you want to practice building. These marks are planning notes, not programmed checkpoints.
For a first layout, avoid intersections that make the next section ambiguous. Leave scenery out until you can explain the route in a short sentence. If a road doubles back near itself, consider how a driver will distinguish the correct lane without relying only on color.
There is no universal track width, corner radius or safe jump distance established by the documentation used here. Choose space by observing the car supplied with your chosen template in a separate test. A corner that requires an exact entry every time may be a poor first challenge even if you manage it once.
Align road sections from several angles
Creator Hub’s parts tutorial documents Move, Scale and Rotate, and the F key for focusing on a selected part. Use those tools carefully, and check what you have selected before changing anything. Selecting an entire vehicle is different from selecting a decorative block beside the road.
For modular road work, try this proposed sequence:
- Place the next road section near the end of the existing one.
- Check its direction from above before closing the gap.
- Inspect the joining edges from the side for a height mismatch.
- Look along the road at roughly the driver’s viewpoint for a hidden lip or obstruction.
- Test that join before extending the route farther.
The parts tutorial recommends inspecting from multiple viewpoints. Apply that habit to the road surface, not just the outline. A seam that looks tidy overhead may still place one section above another. Avoid stretching a complex section until its pieces no longer line up; moving a section is not the same operation as redesigning it.
Anchor the road, not the moving car
Roblox’s parts documentation explains that unanchored parts can move under gravity and collisions. Anchoring holds a part’s position and orientation. That is useful for scenery and road pieces intended to stay still.
Do not select the whole project and anchor everything. A car and its moving components have different jobs from a fixed barrier. Blanket anchoring can prevent intended movement rather than repair the track.
If something falls or shifts during a test, identify the particular object before changing properties. Check whether it belongs to the fixed environment or a mechanism. Leave the template’s vehicle assembly alone while you investigate a road-placement problem, and return to your untouched copy if you cannot distinguish those parts confidently.
Test one layout problem at a time
Use a short test note rather than changing every corner after one difficult lap. Keep the original route available for comparison. These are suggested checks, not performance results or a claim that a particular layout has passed testing.
| What you notice | Layout question | Next test |
|---|---|---|
| The car catches at a join | Are the road edges at different heights? | Inspect from the side and retry that seam |
| You cannot see the next turn | Is scenery hiding the route? | Remove the obstruction in the test copy |
| A bend is hard to complete | Does the chosen car have enough room? | Widen that area and repeat the approach |
| A barrier moves | Is it intended to be fixed? | Inspect that part, not the entire car |
| A lap or checkpoint behaves unexpectedly | Is this a layout issue or a separate system? | Recheck the selected template and stop changing road geometry blindly |
Do not invent checkpoint scripts to explain an unfamiliar template. Timing, lap validation and respawn rules are separate systems. Keep them outside this layout exercise until you have documentation for the actual implementation you are using.
Add scenery only after the route works
Place landmarks where they help a driver recognize the next section. Keep the driving line visible and leave room to notice a turn before reaching it. A sign is useful only if you can read it from the intended approach; review it from the car’s view rather than the editor’s overhead camera.
No paid asset is required by this exercise. If you later choose paid assets or services, check current prices and permissions first; this guide quotes no Robux, USD or CAD amount. Do not install a tool sent through a private message to “fix” your car.
Parent note: review collaboration and account access before a child shares the project, and check the current content maturity label before they join another experience for inspiration. Finish the session by saving your test notes with the project copy: which join you adjusted, what still needs checking and which systems you deliberately left untouched.
Sources checked October 15, 2026: Roblox Creator Hub: templates · Roblox Creator Hub: work with parts.
Frequently asked questions
Are Racing and Classic Racing the same Roblox template?
No. Creator Hub describes Racing with a working car and rearrangeable track sections. Classic Racing has its own description, which explicitly mentions working cars and checkpoints.
Should I anchor everything on my race track?
No. Anchoring is for parts that should stay fixed, such as suitable road or scenery pieces. Do not apply it indiscriminately to cars, wheels or mechanisms that need to move.
Will moving road sections create working checkpoints?
Do not assume so. This guide covers physical layout, not checkpoint programming or automatic lap ordering. Inspect the template you actually chose and keep a working copy before changing its systems.
How wide should a beginner track be?
There is no single width established by these sources. Test your chosen car through the corner and give it enough space to complete the intended route without relying on a perfect entry.